Impact-Site-Verification: ab20b18c-bce4-47ff-b7e8-65ab6b51db2a
Crème brûlée is a classic French custard dessert that combines a silky smooth vanilla custard base with a delightfully crunchy caramelized sugar topping. This easy-to-follow recipe uses a combination of milk and heavy cream to create a lighter, yet still rich and creamy, custard texture. The result is a perfectly balanced dessert that showcases the contrast between the velvety custard and the shatteringly crisp caramel top.
Key Takeaways
- This creme brulee recipe uses a mix of milk and heavy cream for a lighter custard texture.
- The custard is baked in a water bath to ensure even cooking and a smooth, velvety consistency.
- A kitchen torch is used to caramelize the sugar topping, creating a delightful contrast with the silky custard.
- The recipe can be adjusted to use different flavors, such as pumpkin, for a unique twist on the classic dessert.
- Detailed instructions are provided for each step, from preparing the ingredients to chilling and serving the final dish.
Introduction to Creme Brulee
Creme brulee, the iconic French dessert, has captivated culinary enthusiasts worldwide with its irresistible combination of a rich, creamy vanilla bean custard and a delightfully crisp caramelized sugar topping. This classic dessert has a unique allure that stems from its contrasting textures and the interplay of flavors.
What Makes Creme Brulee So Special?
The appeal of creme brulee lies in its ability to delight the senses. The silky, vanilla bean custard provides a luxurious mouthfeel, while the caramelized sugar topping adds a captivating crunch that shatters with each bite, revealing the underlying custard. This harmonious blend of textures and flavors creates a truly indulgent experience.
A Brief History of This Classic Dessert
The origins of creme brulee can be traced back to 17th-century France, where the first printed recipe appeared in 1693 in François Massialot’s cookbook. However, it was not until the 1980s that the dessert gained widespread popularity, particularly after being featured at the renowned Le Cirque restaurant in New York City and praised by the esteemed chef Paul Bocuse. Since then, creme brulee has become a beloved French dessert enjoyed by dessert enthusiasts worldwide.
“Creme brulee is a classic French dessert that has stood the test of time, captivating taste buds with its irresistible combination of velvety custard and caramelized sugar.”
Ingredients You’ll Need
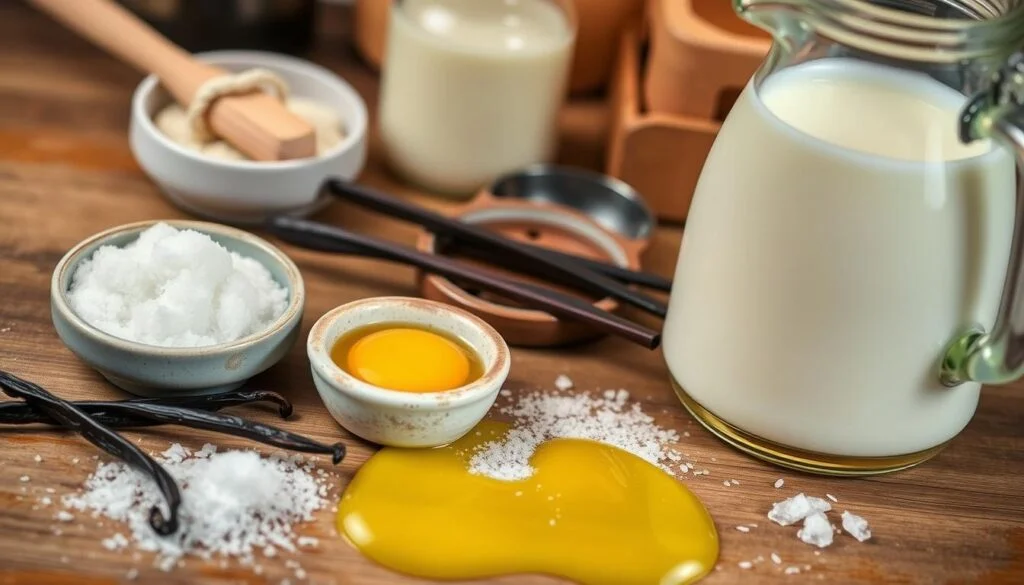
Creating a delectable milk-based creme brulee requires just a few essential ingredients. The foundation of this classic dessert is a custard made with heavy cream, whole milk, egg yolks, and vanilla extract. Let’s explore the key components and their roles in crafting the perfect creme brulee.
Milk vs. Cream: Which is Best?
While traditional creme brulee recipes often call for heavy cream, a combination of heavy cream and whole milk can produce an exceptionally smooth and creamy texture. The heavy cream provides richness, while the milk adds a touch of lightness and balances the overall flavor. A 1:1 ratio of heavy cream to whole milk is the ideal starting point for a milk-based creme brulee.
Optional Flavors to Enhance Your Dish
- Vanilla Extract: A classic choice that infuses the custard with warm, aromatic notes.
- Vanilla Bean: For an even more intense vanilla flavor, use vanilla bean paste or scrape the seeds from a vanilla bean.
- Liqueurs: Experiment with a splash of your favorite liqueur, such as Kahlua or Grand Marnier, to add a grown-up twist.
- Spices: Cinnamon, nutmeg, or cardamom can lend subtle complexity to the creme brulee.
- Herbs: Fresh herbs like lavender or rosemary can create a unique and unexpected flavor profile.
Remember, the key to a successful milk-based creme brulee is finding the right balance of richness, creaminess, and optional flavors to suit your personal taste preferences.
Essential Equipment for Making Creme Brulee
Crafting the perfect creme brulee requires a few key pieces of equipment. From the ramekins used to bake the custard to the kitchen torch needed for caramelizing the sugar topping, having the right tools on hand can make all the difference in achieving that coveted crisp, golden crust.
Recommended Kitchen Tools
- Ramekins: The traditional 4-6 ounce ramekins or shallow fluted dishes are ideal for baking creme brulee. Their small size and shape help create the signature custard texture.
- Large Roasting Pan: A deep baking dish or large roasting pan is necessary for the water bath that gently cooks the custard.
- Fine-Mesh Strainer: Use a fine-mesh strainer to ensure a smooth, lump-free custard by straining the mixture before baking.
Helpful Accessories for Perfecting Caramelization
To achieve that irresistible caramelized sugar topping, a kitchen torch is an essential tool. This compact blowtorch allows you to evenly caramelize the sugar, creating the perfect crisp crust that cracks when tapped with a spoon. For those without a torch, the broiler method can also work, but a torch is the preferred choice for professional-level results.
| Equipment | Importance | Recommended Size/Type |
|---|---|---|
| Ramekins | Bakes the custard to the ideal texture | 4-6 ounce ramekins or shallow fluted dishes |
| Roasting Pan | Provides a water bath for gentle cooking | Large, deep baking dish or roasting pan |
| Strainer | Ensures a smooth, lump-free custard | Fine-mesh strainer |
| Kitchen Torch | Caramelizes the sugar topping | Compact blowtorch |
With these essential tools, you’ll be well on your way to mastering the art of creme brulee in your own kitchen. Remember, the right equipment can make all the difference in creating a truly professional-quality dessert.
Step-by-Step Preparation Guide
Creating a delectable creme brulee is a straightforward process that involves a few key steps. Begin by whisking the egg yolks and sugar together until the mixture is light and fluffy. Next, heat the cream with a touch of vanilla until it’s just simmering. Slowly pour half of the warm cream into the egg mixture while continuously whisking to temper the eggs.
Once the egg mixture is tempered, pour it back into the saucepan with the remaining cream. Gently heat the combined custard, stirring constantly, until it thickens slightly. Be sure not to overheat, as this can lead to curdling. Once the custard has reached the desired consistency, strain it through a fine-mesh sieve to ensure a silky-smooth texture.
- Whisk the egg yolks and sugar until light and fluffy.
- Heat the cream and vanilla in a saucepan until simmering.
- Temper the egg mixture by slowly pouring in half the warm cream while whisking constantly.
- Return the tempered mixture to the saucepan and gently heat, stirring continuously, until slightly thickened.
- Strain the custard through a fine-mesh sieve to remove any impurities.
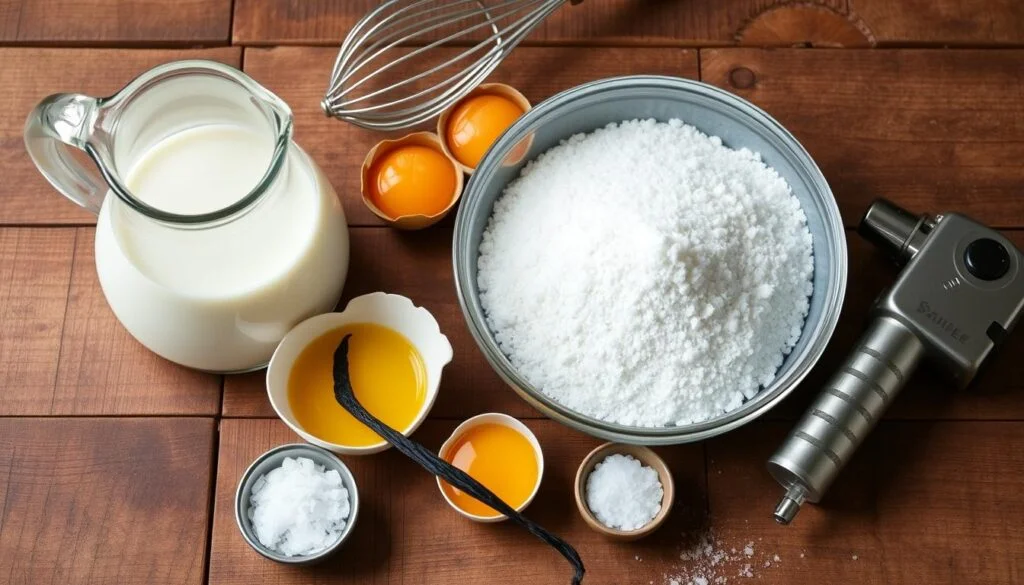
By following these precise steps, you’ll ensure a smooth and creamy custard preparation that’s ready to be baked into the perfect creme brulee. Remember, the key to success lies in tempering the eggs and vanilla infusion to create a truly indulgent dessert.
Baking Your Creme Brulee
Achieving the perfect creme brulee requires precise oven settings and baking techniques. To ensure your custard turns out rich, creamy, and evenly cooked, follow these guidelines for the best results.
Ideal Oven Settings and Conditions
Preheat your oven to 300°F (150°C). This moderate temperature will allow the custard to bake slowly and gently, preventing overcooking or cracking. For even, gentle cooking, use a water bath by pouring boiling water halfway up the sides of the ramekins.
Timing: How Long Should You Bake?
- Bake the creme brulee for 25-30 minutes, or until the custard is set but still slightly wobbly in the center.
- The internal temperature of the custard should reach 175-180°F (78-80°C) for the perfect consistency – not too soft or overly firm.
Proper baking is crucial for achieving the signature water bath baking texture and custard doneness that distinguishes an exceptional creme brulee. By maintaining the oven temperature and allowing the right amount of time, you’ll create a silky, velvety custard base that’s ready for the final caramelized touch.
Cooling and Setting
After the meticulous preparation and baking of your creme brulee, the next crucial step is the cooling and chilling process. This step is essential in allowing the custard to fully set and develop its signature creamy, velvety texture.
Why Chilling is Crucial
Chilling the custard is crucial for several reasons. First, it helps solidify the custard, transforming the soft, pourable mixture into a thick, spoonable dessert. The cooling process also allows the flavors to meld and intensify, creating a more complex and balanced taste. Additionally, chilling the custard ensures that the texture is smooth and consistent throughout.
Timeframe for Optimal Results
For best results, allow your freshly baked creme brulee to cool to room temperature, which typically takes around 20 minutes. Then, transfer the custards to the refrigerator and chill them for at least 4 hours, or preferably overnight. Custard chilling for this extended period is crucial for the custard to set properly and achieve the desired creamy, refrigeration time texture.
Once the creme brulee has chilled for the recommended timeframe, it is ready to be served and enjoyed. The custards can be refrigerated for up to 2 days before serving, allowing you to prepare them in advance for a dinner party or special occasion.
Caramelizing the Sugar Top
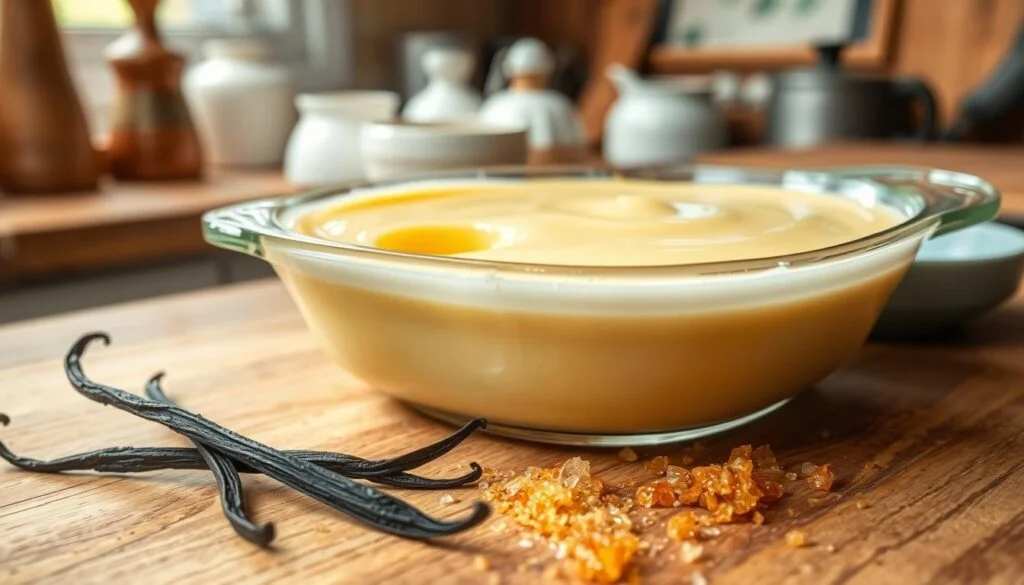
The signature crunch of a crème brûlée comes from the caramelized sugar topping. To achieve the perfect caramelized crust, it’s essential to use the right type of sugar and employ the proper technique.
Best Sugars for Caramelization
The most suitable sugars for caramelizing the top of your crème brûlée are demerara or granulated sugar. These sugars have a higher sucrose content, which allows them to caramelize more easily and evenly when exposed to high heat.
Techniques for Achieving the Perfect Crack
To caramelize the sugar topping, begin by sprinkling a thin, even layer of sugar over the chilled custards. Using a kitchen torch on a low heat setting, move the flame in a circular motion from the outside of the ramekin inward. Continue caramelizing until the sugar forms a crisp, golden-brown crust.
For an alternative method, you can also caramelize the sugar topping under a hot oven broiler, keeping a close eye to prevent burning. Caramelize the sugar immediately before serving to maintain the perfect crunchy texture.
| Sugar Type | Caramelization Characteristics |
|---|---|
| Demerara Sugar | Larger granules and a deeper, richer flavor profile |
| Granulated Sugar | Finer texture and a more delicate caramel taste |
By following these tips for selecting the right sugar and using the proper caramelization techniques, you can ensure your crème brûlée boasts a crisp, golden-brown crust that shatters delightfully with each bite, revealing the silky smooth custard beneath.
Serving Suggestions
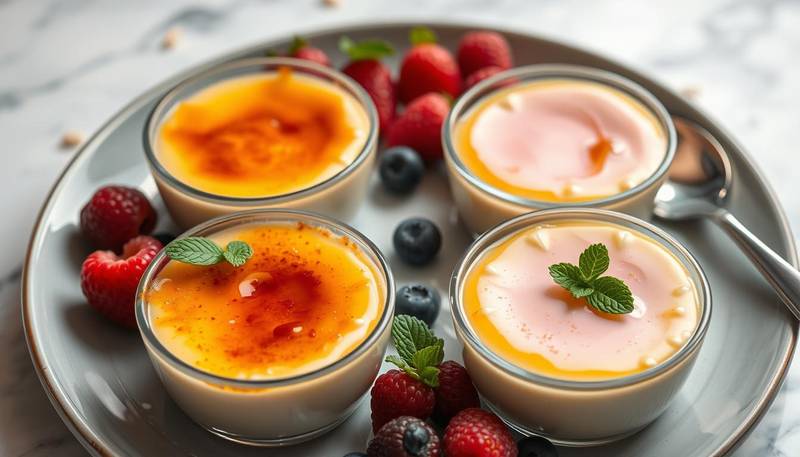
Creme brulee is a decadent dessert that deserves a beautiful presentation. Serve this classic treat immediately after caramelizing the sugar topping for the ultimate contrast of textures and temperatures. Garnish each portion with a sprig of fresh mint or a few plump, juicy berries for a pop of color and freshness.
Creative Ways to Present Your Dessert
- Arrange the ramekins on a rustic wooden board or slate platter for a elegant, yet casual vibe.
- Serve the creme brulee in individual dishes or cups for a more formal setting.
- Consider using unique ramekin shapes, such as oval or square, to add visual interest.
- Sprinkle toasted nuts, such as almonds or pistachios, around the base of the ramekins for a delightful crunch.
Ideal Pairings for Your Creme Brulee
The rich, creamy flavors of creme brulee pair beautifully with a variety of beverages. Serve it alongside a small glass of sweet dessert wine, such as a Sauternes or Muscat, to complement the custard’s sweetness. For a more bold contrast, offer espresso or a strong cup of coffee to balance the dessert’s decadence.
| Beverage | Flavor Pairing | Why It Works |
|---|---|---|
| Dessert Wine | Sweet, Fruity | The wine’s acidity and sweetness enhance the creme brulee’s custard-like texture and caramelized top. |
| Espresso | Rich, Robust | The bold, intense flavors of espresso provide a delightful contrast to the creamy, mellow creme brulee. |
For a seasonal twist, consider creating a pumpkin creme brulee in the fall or a red velvet version during the holidays. The options are endless when it comes to dressing up this classic dessert.
Troubleshooting Common Issues
Creating the perfect crème brûlée can be a delicate process, but with the right troubleshooting techniques, you can overcome common challenges and achieve the desired creamy, custard-like texture. Let’s explore some common issues and effective solutions to ensure your dessert turns out flawless.
What to Do if It Curds
One of the most common issues with crème brûlée is curdling, which can result in a grainy, unappetizing texture. To prevent this, be mindful of your oven temperature and cooking time. Overheating the custard can cause the proteins in the eggs to coagulate, leading to curdling. Ensure you bake your crème brûlée in a water bath, which helps regulate the temperature and prevents the custard from overcooking.
If your custard does curdle, act quickly. Strain the mixture immediately through a fine-mesh sieve to remove any lumps. This will help restore the smooth, creamy texture you’re aiming for.
Fixing a Grainy Texture
Another common issue with crème brûlée is a grainy texture, often caused by undissolved sugar. To achieve a velvety smooth consistency, make sure the sugar is fully dissolved during the preparation process. Whisk the ingredients thoroughly, and consider using a finer-grained sugar, such as superfine or caster sugar, which dissolves more easily.
Proper tempering of the egg yolks is also crucial. Gradually incorporate the hot cream mixture into the yolks, whisking constantly, to prevent the eggs from scrambling and creating a grainy texture. Maintaining a low, gentle heat during the cooking process can also help avoid this problem.
Remember, patience and attention to detail are key when making crème brûlée. By addressing these common issues, you’ll be well on your way to creating a dessert that’s both visually stunning and deliciously smooth.
Storing Leftovers
Enjoying the rich, creamy delight of crème brûlée often leaves us with delectable leftovers. To ensure your dessert maintains its exceptional flavor and texture, proper storage techniques are crucial.
How to Properly Store Crème Brûlée
Leftover crème brûlée can be stored in the refrigerator for up to 2-3 days. Simply cover the ramekins with plastic wrap to prevent the custard from drying out. Avoid caramelizing the sugar topping if you plan to store the dessert, as the caramelized layer can become soggy over time.
Reheating Tips for Delicious Results
When ready to serve your leftover crème brûlée, allow the custard to come to room temperature before caramelizing the sugar topping. This ensures the creamy texture and consistency are preserved. Resist the temptation to reheat the entire dessert, as this can adversely affect the delicate balance of flavors and textures.

